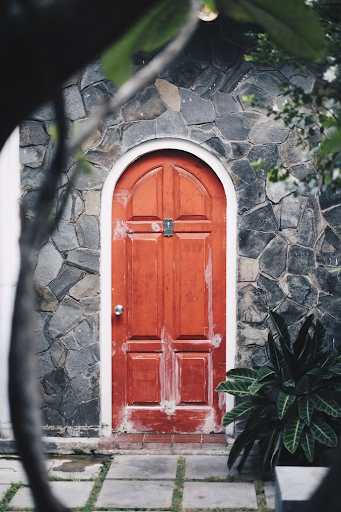
Your front door is the first thing that guests and neighbours see of your home and a wooden front door is a great feature when it comes to your home’s curb appeal. However, years of exposure to sunlight, rain, snow, and frost can significantly damage an exterior wood door and leave it looking a little worn out. If it’s been a while since you last maintained your door and you’re looking for some top tips and tricks on wooden door restoration, you’ve come to the right place.
Read on to learn how to refinish a wood door and spruce up your entryway to help keep your home looking great.
Step 1: Remove the door
The first thing you’ll need to do on your wooden door restoration journey is remove the door from its hinges. Solid wood doors are extremely heavy so if yours is solid you’ll need to get some help for this step.
Open the door and stack some wood blocks beneath the bottom edge to help support the door. Remove the hinges by using a flathead screwdriver to tap the pins upwards and out of the hinges. The door should now slide out from the hinges. Lay the door flat on some sawhorses or on a workbench.
Top tip: Set up your workstation somewhere that is in the shade but well-ventilated – you don’t want to expose the door to the sun while staining or applying varnish.
Step 2: Remove all hardware
If the door is still in good condition without too much deterioration, you may be able to get away with just re-coating it with some varnish. However if it is too flaky or uneven, you will need to strip it before refinishing.
First, remove all of the hardware from the door. This includes the deadbolt, handle, mail slot, knocker, kick plate, and any lock covers. Removing them might seem like a hassle but you’ll be able to achieve a much better finish than if you were to leave them on.
If the door is simply varnished, you can move onto step three however if your door is painted with gloss, you will probably need to use a paint stripper to get the majority of it off. Always followe the instructions and make sure you do it in a well ventilated area or outside.
Step 3: Sand the door
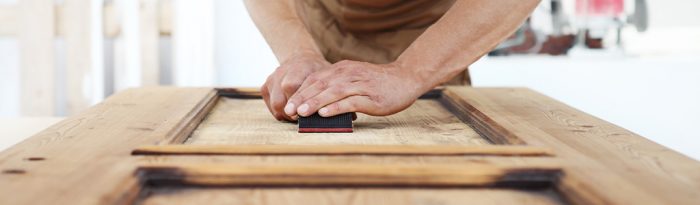
Now that the hardware is removed, and any paint is removed, it’s time to sand everything down. Use a power sander for the flat surfaces and go into the details by hand, making sure you get into all the nooks and crannies. The more intricate the carvings, the more tedious this process will be but it’ll be worth it to do the job properly. Start with 60-grit paper and work your way up to 180-grit paper for a smooth, even result.
Top tip: Be careful when sanding wood adjacent to glass as sanding will scratch the window. Use painter’s tape to protect the glass before you begin sanding. This will also come in handy when it’s time to stain & varnish.
Step 4: Remove sawdust and restain
Next, brush and vacuum away all of the sawdust left behind by sanding. Get the nozzle of the vacuum clean right into all the small gaps. If it’s a warm day, you may also want to wipe it down with a damp cloth and allow the door the dry fully to be extra thorough.
Next, use a paint brush or rag to apply your wood stain, making sure to saturate the wood, before wiping down with a painter’s rag. Allow to dry and apply a second coat if needed.
If you’re painting the door with a gloss, be sure to apply a primer before applying your chosen colour for the best results.
Step 5: Apply exterior varnish
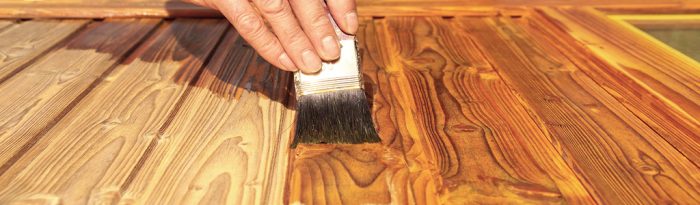
After letting your stain dry, it’s time for the most important step – coating the door with exterior varnish. Exterior varnish (sometimes referred to as spar varnish) is different from varnish used on interiors as it has special additives that help to protect the wood from weather, UV rays and the elements. Apply at least 2 to 3 coats of varnish for the longest-lasting effect and let it dry fully between applications.
Step 6: Re-install hardware and re-hang the door
After letting the varnish dry it’s time to reinstall the door hardware. This is also a good time to polish any brass fixtures if you have them as brass can become quite tarnished over time. This requires a lot of elbow grease but goes a long way to restoring the look of your doorway. Alternatively, if you don’t want to put in the extra effort, why not refresh your doorway with some brand new door hardware instead?
Once the hardware is back on the door, rehang it in the frame and admire your hard work!
We hope this guide has helped you learn more about front door refinishing. Top tip: If your door is cracked or damaged in any way, this could pose a security risk so it’s best to replace the whole door rather than try to restore it. For all of your entryway needs, browse our full range of wooden front doors.