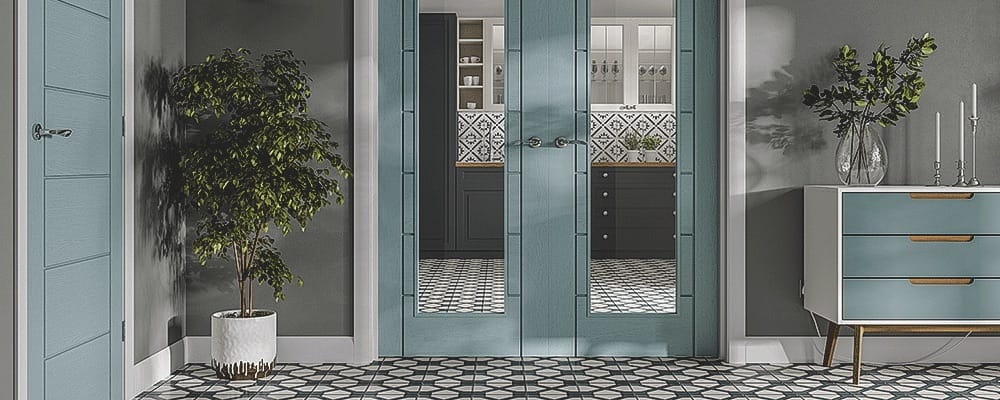
Once your brand new internal door arrives from Leader Doors, you’re going to need to consider how to treat your door to keep it in tip top condition throughout its lifetime. All of our internal doors are built to last, but require treating if they’re going to keep up with daily use from your household!
Think about every time you’ve slammed a door in a hurry, your kids have hammered on the door while playing, pets have scratched and scrabbled on the door to get into a room they’re not supposed to be in. If your internal doors aren’t treated, pretty soon they’re going to start showing their age!
Treating your doors doesn’t mean you need to go kinder on them, if anything it means that you can go on using your internal doors as normal, they’ll just be much more prepared for it! Make sure that you apply a protective oil or varnish before you fit the door, and then simply keep reapplying the treatment once every two or three years to keep on top of the condition.
Don’t worry if you’re not sure how to treat your internal doors, we’ve got a few tips for you to get your started!
What You’ll Need:
-
- Dust Sheet – to keep your furniture and flooring protected
-
- Microfiber Cloth – for gently clearing away dust and dirt
-
- Protective Clothing – to keep yourself safe and clean
-
- Wide Paint Brush – for even coverage
-
- Paint Tray – to hold the door treatment
-
- Door Oil or Varnish – depending on your preference
-
-
- Masking Tape – to keep door hardware and frame architecture clean
- Finishing Pad – to remove imperfections between coats
- Sandpaper – to remove any damaged areas
-

Depending on the finish of your door, the way you treat it will slightly differ. For example:
Pine doors can be treated with a lacquer, varnish or polyurethane, or they can be primed and painted depending on your preferred choice. Care should be taken to use thin coats, to avoid prolonged drying time. Always ensure that the door is coated on all faces and edges.
Instructions:
Step 1
Make sure that everything else in the room is protected by laying down dust sheets, dressing appropriately in old clothes, and covering up any glazing, door hardware or door architecture with masking tape. Remember to open a window if possible to keep the area well ventilated!
Step 2
Lay your door flat on two trestles so that no runs will set. Stir the oil or varnish well, and transfer a small amount into a paint tray to make it easier to cover your paint brush.
Step 3
Check that the door is clean and dry by brushing it gently with a microfiber cloth. Use your paint brush to apply a thin layer of treatment to the door using long, even strokes. Make sure that you go with the grain of the door! If you’re using an oil based treatment, wipe away the excess using your microfibre cloth.
Step 4
Leave your door to try – this should take around 4 hours but make sure to check the instructions on your chosen treatment. Once dry, you’ll need to look for imperfections in a process called ‘denibbing’. Take a finishing pad and denib the whole surface of the door with a small amount of pressure.
Step 5
Repeat the process for the second layer, then turn the door over and complete the other side of the door. Take some time to oil the other edges of the door including the top and sides during this time for additional protection.
Step 6
All you need to do now is maintain the condition! Check up on the condition of your doors once every few years, paying particular attention to any damaged areas. You can clean or even sandpaper over any damaged areas before applying a new coat of oil and your doors will soon be returned to their original condition!

Need to treat your external doors? No problem. Read our guide on How To Treat External Wood Doors over in our Help & Advice Centre.